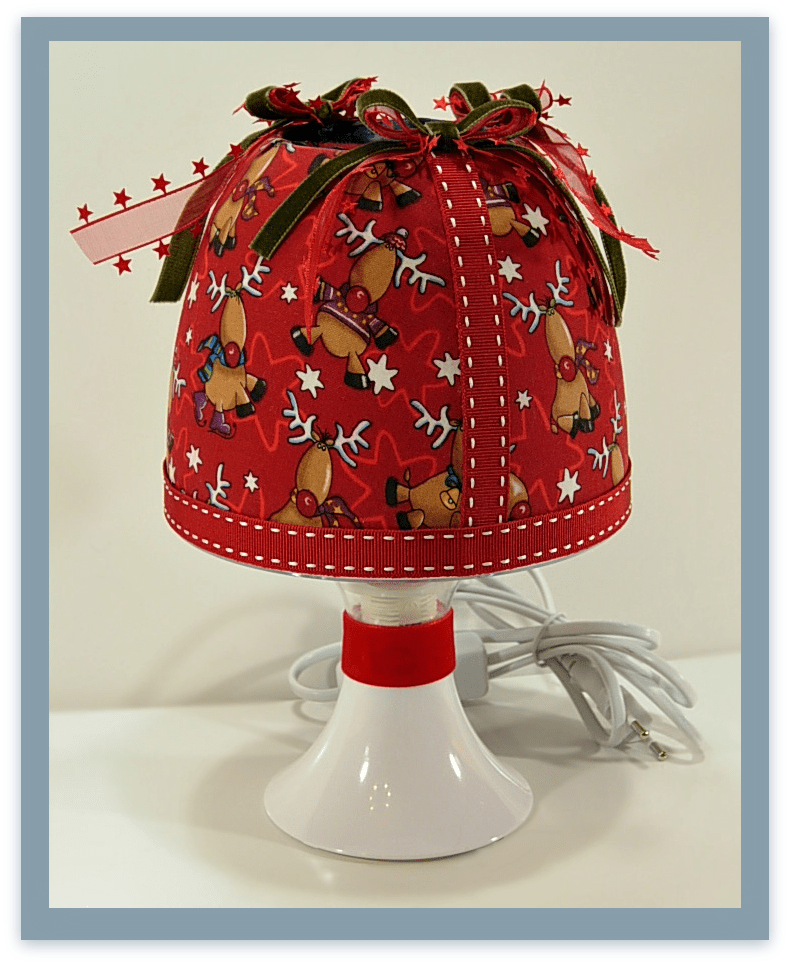
Follow my pawprints, hold on my smile, laugh at my jokes, walk by my side, find me where my soul flourishes, come closer to my heart, look into my dream every single day!
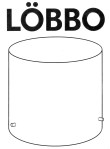
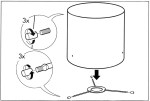
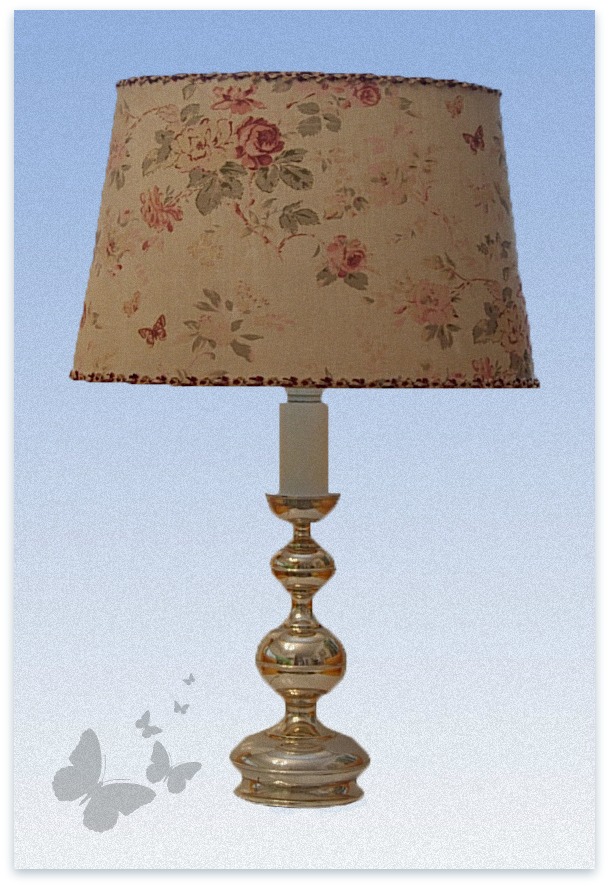
Japanese 100% cotton fabric and two Löbbo IKEA Europe lampshades.
2° Step. Tools :
First of all I need a soft pencil to design the template on the fabric rear side and the scissors to it cut out. The vinyl glue (or special fabric-glue) and a flat brush to spread an adequate glue measure on to paste the fabric to polystyrene panel; some pegs or clips to hold and press it down while it dries.
3° Step. Fabric & Template :
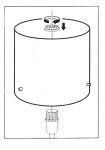
I wash and iron my fabric perfectly. It is important to draw the template to cut the fabric in the right measures. In this case, I use the polystyrene panel of the Löbbo lampshade like a template.
I lay it on the wrong side of my fabric and trace all cutting lines with a soft pencil. With a ruler I extend each line out 2-3 cm. and trace a further edge in all directions the lines were heading. Finally, I cut the fabric carefully out with scissors or a rotary cutter. The new cover is now ready to be glued to the shade.
An entity of interior design that develops and turns a space into an effective conceptual project and enters significantly in relation with its form: the lampshade.
Telaio Cilindro – Drum Frame
The frame is the backbone of the lampshade, the efficient adaptation to its modern function. It is composed by a set of elements making up the skeleton of a rigid supporting structure with which some parts of less resistance are connected.
Telaio Pagoda Quadra – Square Bell Frame
A lampshade has a metal structure with two or more orders of straight wire supports holding up the upper and the lower edges; the frame has a central socket to attach the light bulb and is made of a metallic wire, galvanized or covered with plastic, usually painted white to prevent oxidation and rust.
Telaio Cinese – Round Chinese Coolie Frame
The lamp saddle and socket can have different sizes: the small E14 or the large E27 wire fitting, eventually with a reducer or an adapter ( i.e. a white plastic ring, or a converter plug, that goes between the socket and the bulb), permanently attached to the shade which is directly installed to the lamp socket (EC European or BC British fitting system).
The template. It is important to draw the template, in order to cut the fabric in the right measures. First of all I take a large piece of thin paper, or pattern paper, (or more paper sheets joined together with adhesive tape) and a soft pencil. Then I lay the shade (already provided for its polystyrene panels) on it and, from the vertical rear seam, I begin to roll the shade and to trace around the rims on all sides to the starting point. With a ruler I extend the sides of each line out 2-3 cm. and trace a further edge in all directions the lines were heading. Finally, I cut the template out of the piece of paper with scissors or a craft cutter. Now the template is ready.
Preparing the fabric. To select the right fabric to cover my shade, in addition to considering colour and design, I have to consider its transparency as well as the amount of heat my lamp expels because I do not want my chosen material to melt. That’s why I read the fabric label carefully to determine its heat sensitivity. Afterwards I wash and iron the fabric perfectly. I lay the template on the wrong fabric side and I trace it with a soft pencil.
Checking up fabric design. The above mentioned template process, although laborious, helps me to understand everytime if the fabric design is suitable for my lampshade. The correct fabric position is important: the design must be in evidence, both on the front and on the rear shape side; it should not be cut out badly on the edges and pretty harmonious! On the contrary, I can always remove the fabric and take it on again, or even replace it, in order to get a first-rate colour-rich canvas.
Cutting the fabric. I place the template on the wrong side of my fabric and trace all cutting lines with a soft pencil. I cut the fabric out carefully. The new cover is now ready to be glued to the shade.
The vinyl glue is one of the most used adhesives, often known by its trade name Vinavil, but there are several brands and manufacturers on the market. The most commonly used vinyl synthetic resin is polyvinyl acetate (PVAc) in an aqueous emulsion, which has a variety of use in industries, in art and hobby, in handcrafted works, in book-binding and book arts, due to its flexible strong bond and non-acidic nature, usually without need for primers. However, there are also the related polymer polyvinyl alcohol (PVA) adhesives diluted in solvent solutions. Polyvinyl acetate belongs to the polyvinyl esters family and is a type of thermoplastic; these glue types are also referred to as wood glue, white and school glue, or carpenters glue and so on. The vinyl glue looks like a white liquid, milky, with a characteristic slightly acidulous smell, and remains consistent in its quality to conform specific standards. The advantages are low price and toxicity, simple use, and good sticking efficiency. The main disadvantage is the average long drying up time.
Colla Vinavil NPC (www.vinavil.com)
I use the vinyl glue to bond the fabric (linen, cotton or silk, gobelin and batiste) to the polystyrene lampshade panel, as well as to the wooden or metal bases, diluted in water in the required amount according to the material resistance and porosity (well-finished or unrefined, smooth and waterproof, thick or thin). The usually needed percentage glue-water is in the ratio of 1 to 2. But it is necessary to test the materials’ characteristics, to adjust the water measure. Thanks to the decoupage technique, I also paste art-paper, decorative cardboard, silk or soft-paper, tissue and vellum paper, Japanese washi-paper to lampshades and bases. When the glue is dry, it gets an elastic consistency and is transparent, smooth to the touch: so it can easily stick and protect all decorative elements.
If the material is porous, or fine and delicate, I apply a thin glue coat with a flat brush; on the contrary, I apply on the surface a good glue coat if the support is particularly porous. To hold the fabric, or paper, I use one or more plastic binder clips.
Once the gluing process is over, the finished shade has to rest for up 12 hours, to allow the adhesive the ability to completely bond. The best tips for gluing vinyl include adequately cleaning the project area, working in small sections at a time, and following proper safety precautions; such as, wearing gloves while working with vinyl adhesives to stick silk-fabric and delicate art-paper. A clean area provides an easier surface for the glue to attach to, as well as a longer hold between two different materials. I avoid not properly aligned edges and air balls beneath the surface of fabric, or paper, by working in small sections; as well, I clean immediately dripping glue with a damp cloth.


 I lay it on the wrong side of my fabric and trace all cutting lines with a soft pencil. With a ruler I extend each line out 2-3 cm. and trace a further edge in all directions the lines were heading. Finally, I cut the fabric carefully out with scissors or a rotary cutter. The new cover is now ready to be glued to the shade.


")


")
")


Devi effettuare l'accesso per postare un commento.